A vinyl fence post may need to be strengthened if it carries a heavy load, lacks rigidity, falls within a long section of fence and/or is subject to high wind exposure. If left unsupported, a vinyl fence post can eventually become dislodged from its secure placement within the post hole and cause similar damage to adjacent sections of fence. To prevent this from happening, the vinyl post needs to be strengthened and reinforced.
Strength can be added to a vinyl post by tightening up the post, rails, and pickets around the entire perimeter of the fence. Additionally, adding reinforcement inside specific posts will increase rigidity to high-risk areas. Typically, metal sleeve inserts are used for reinforcement–they are easy to install and have multiple design options to allow varying accommodations around the top and bottom rails inside the post.
It is important to notice and address subtle issues with your vinyl fence before they turn into major problems. Addressing these issues early on will prevent further damage and will ensure the longevity of your fence.
12 Signs that Indicate that a Vinyl Fence May Have a Problem Needing Reinforcement:
The following list provides indications that a vinyl fence may need to be strengthened and reinforced. The issues may stem from wind exposure, carrying an excessive load, post hole damage, or improper installation:
- Chattering fence: creaking, squeaking, chattering excessively under little to no wind duress.
- Flimsy or overly flexible material: touching the post and slightly pushing will cause a sort of reverberation down the fence line.
- Loose post: the post doesn’t sit tight in the post hole. It can be easily toggled back and forth within the post hole.
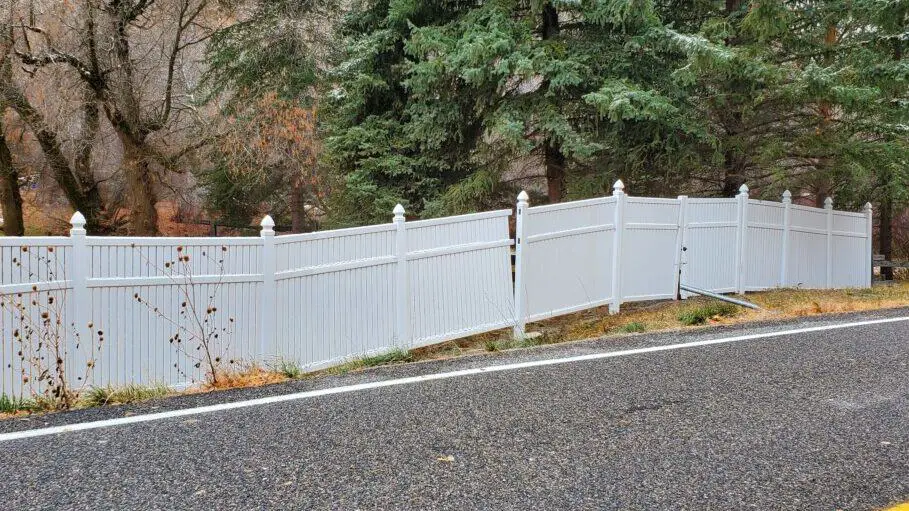
- Long straight unsupported fence line: can be prone to potential damage from unexpected high-winds.
- Wind corridor: known areas of fenceline constantly exposed to high winds.
- . Weak gate: gate posts that are flimsy, wobbly, or loose in the post hole causing difficulty with opening, closing, and/or engaging the latch mechanism.
- Loose corner: a corner post that is loose in the post hole preventing it from properly supporting the adjoining fenclines.
- Dangling end: an unsupported terminal or end post that is flimsy or loose in the post hole–preventing it from properly supporting the rest of that particular line of fence.
- Gaps: big separation between pickets or between pickets and posts.
- Sagging Rails: Top and/or bottom rails sagging or bowing between posts.
- Out of plumb: a view down the fenceline revealing posts that have been driven in or out of plumb and/or alignment–some of the posts are loose in the post hole.
- Out of plain: a straight view of the fence reveals posts that have recessed below or heaved up above the fenceline.
- Damage: a post obviously damaged, broken, or forced out of alignment due to some outside force or impact.
If any one or more of these conditions exist, the fence may need reinforecement.
How to Identify if the Issue is with the Post or Hole
Issues with the Post
Typically, addressing potential issues with the post is an easy fix and is a preventative measure to avoid issues with the post hole (difficult fix).
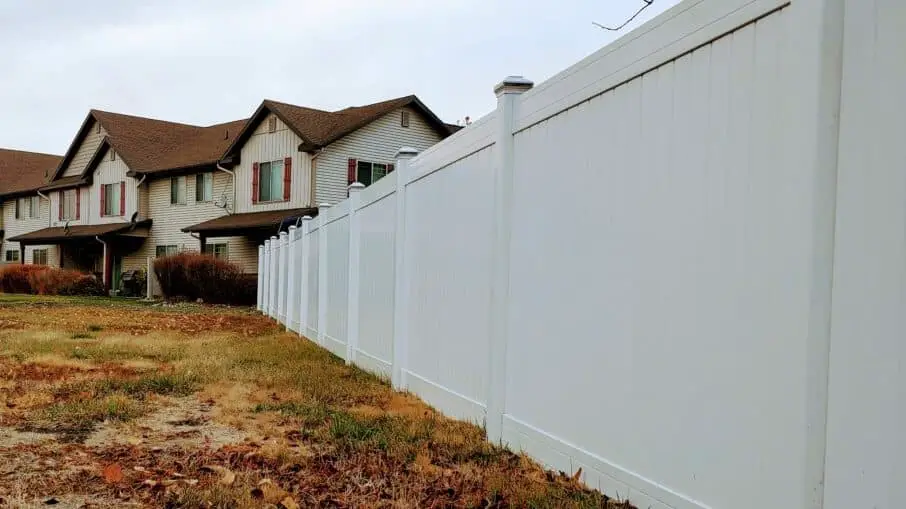
When the issue appears to be a lack of stability because of a flimsy vinyl material, location in a high-wind corridor, on the corner or end of a fence line, or carrying an excessive unsupported load–like a long stretch of privacy fencing, the fence posts may need additional support to prevent them from excessive sway–the fence’s flex and bending under pressure.
Excessive sway may eventually chew a gap into the post hole and the problem area may spread. This page has been written to discuss ways to strengthen the fence with and withing the posts themselves and to prevent sway. Keep reading.
Post-Hole
If the problem is in the post hole and the post has been dislodged from its placement in the hole allowing the post to “wobble” freely, please see my post HERE. I describe in more detail the differentiation between fence “wobble” and “sway” and how to repair problems with wobble in the post-hole.
How Tighten Up a Vinyl Fence: It Could be the Only Fix Needed
Tightening-up a vinyl fence involves securing the top rail from sliding in and out of the post. A proper tightening-up of the fence will not only increase stability, it will also close gaps between posts, rails and pickets and improve the fence’s aesthetic appearance.
If your posts appear to be well established in the post hole yet the fence appears to demonstrate excessive sway and chatter, tightening-up the fence may be the one and only resolution needed to reduce chatter and sway, and to add strength and rigidity.
Six Steps to Tighten Your Vinyl Fence
- Remove all post caps and unfasten any placeholder screws on the top rails.
- Check for equal spacing of the top rails–adjust as necessary. If the rails were not screwed or notched, it is possible that they may have been shaken out of an equally spaced layout
- Begin with the center post within your chosen section of fence. Refasten a screw into the top rails to secure their placement in the post. The objective is to reduce the in-and-out sliding movement of the top rails.
- As you move away from the middle post, pull, snug, and secure adjacent posts towards the center.
- Secure the entire fence line in this same manner.
- *Note: As you move down the fence line, you may discover that the gap that is having to be closed may become excessive. You may have to undo a few posts and slightly split the difference.
- . Once the entire fence has been tightened up, reassess the movement of the posts. If you find that tightening solved the problem, drop the mic and move on to more important tasks. However, if it did not solve the issue, you may have to consider strengthening individual posts.
Which Vinyl Fence Posts Need to Be Reinforced?
Manufacturers typically require corner, gate and end posts to be reinforced. They also recommend that inline posts for vinyl privacy fences over 5ft tall should be reinforced as well. Problem posts, posts that, for some reason, lack rigidity, posts that are located in high-wind areas or posts located within a long straight section of fence could need special attention and reinforcement.
Full or Half-Post Reinforcement: Which Option is Best?
Manufactures provide full or half-length vinyl post inserts for stiffening. They are usually made from steel or aluminum. Half-length posts are much cheaper than full length inserts costing somewhere between $30 to $50. Full length posts can run between $60 to $90. Concrete and rebar can be used as a much more affordable, yet, much more labor-intensive alternative.
Full Length Metal Reinforcement
Corner, gate and end posts should be reinforced with a full-length insert or concrete/rebar filled up to just under the top rail.
Half-Length Metal Reinforcement
Inline posts will usually only need to be stiffened with half-length reinforcement from metal inserts or concrete/rebar . This provides enough strengthening to withstand high-winds and also allows the fence to freely expand and contract in unison between the corner and end posts.
Does Every Single Inline Post Need Reinforcement?
Manufacturers recommend that every post be reinforced in high-wind areas–especially for privacy vinyl fence material over 5 feet tall. Installing inline posts with spacing of 6 feet on-center or less will provide more resistance to high-winds.
Special High-wind Posts?
Some manufactures provide thicker post reinforcement options instead of requiring metal inserts or concrete/rebar. This is something to consider–especially when considering a new vinyl fence installation project.
What about Every Other Post?
If your inline posts require stiffening, reinforcing every single post will be costly, and may seem like a daunting task. You may also run into unforeseen challenges that make reinforcing every single post difficult. For example, sometimes contractors will run a 12 or 16 foot bottom rail to span between 3 posts. Obviously, a metal insert cannot be placed in the middle post where the bottom rail runs all the way through.
So, if your fence is not in a high-wind area and is, for example, simply just a long stretch needing to be strengthened, installing the half-length insert into every other post may provide sufficient support.
However, if your fence is subject to the wrath of constant winds and stress, you may need to find solutions so that every post can be stiffened. To solve the problem mentioned above, concrete/rebar can be used, or the double-length bottom rail can be removed, sawed in half–with a hacksaw, chop saw or circular saw, and reinstalled so that the metal inserts can be slipped into every post. (Please follow manufacturer’s instructions for installing concrete inside your post.) Concrete/rebar is definitely cheaper than metal inserts. It is much more labor intensive, but on my page about concrete I discuss how to choose the best concrete mix and which one can drastically reduce the labor requirement for vinyl post reinforcement.
Which Metal Insert is Best for Strengthening a Vinyl Fence Post?
Generally, the best metal insert is the one provided by the same manufacturer that the vinyl is purchased from to ensure proper fitting. There are several different designs with some having specific uses.
For example: there are specific inserts designed for corner posts, in-line posts, end or terminal posts and gate posts, etc. Work with your manufacturer to order the correct insert for your specific needs. However, most designs are versatile and can be used in multiple scenarios.
However, online research using an “image” or “shopping” search query for: “metal inserts for vinyl posts” will also yield good results.
Potential bracing solutions could incorporate the following types of metal inserts:
- Post Insert
- Gate post insert
- Rail Stiffener
- C-Channel (for rails)
- Corner or End post insert
- Z-Post (or bracket) insert
- H-Post insert
- Wind post insert
- 3-Sided gate post insert
How to Find the Cheapest Metal Post Insert
As many of the bracing systems mentioned above can be expensive, you may have more luck going local as you shop around for a cheaper inserts.
Calling local manufacturers and inquiring about solutions within your sizing needs will allow you to tap into the local manufacturing network where you may be steered into the direction of some much cheaper local alternatives.